- Published on
Using External Images on Cloudflare Workers & Pages with Next.js
- Authors

- Name
- Johan Guse
- @johanguse
Today, I decided to deploy one of my testing applications in Next.js to Cloudflare Workers & Pages. The deployment process is similar to Vercel, where I used the dashboard with the option Next.js (Static HTML Export) and setup output: 'export' enabled in my next.config. Everything worked smoothly during deployment until I opened the final version. To my surprise, the external images, in this case, images from the https://pravatar.cc/, were not working as expected.
After some research on the web, I couldn't find a quick answer as I expected. So, I decided to write this short tip to help other developers who might be struggling with the same problem.
This project also serves as a small experiment, involving the recreation of a testimonial using the new carousel component. You can find the code for this experiment here. I'll delve into how to make external images work seamlessly on Cloudflare Pages. If you have any further questions or need assistance, feel free to reach out to me on Twitter.
To fix this issue, we will follow these three steps:
- Change
next.config - Create a custom image loader to integrate with Cloudflare
- Redeploy the project.
1. next.config.js
In the next.config.js, make sure that output: 'export' is set correctly. This is related to Cloudflare deployment. In my case, I used static deployment (Next.js (Static HTML Export)). In the images part, ensure that remotePatterns are correctly set according to your external images domain property setup. You can read more about Next.js remotePatterns here.
2. Custom Image Loader
In my case, I created a custom image loader in the next.config.js file to use a cloud provider to optimize images instead of using the Next.js built-in Image Optimization API.
next.config.js:
const nextConfig = {
  output: 'export',
  images: {
    loader: 'custom',
    loaderFile: './imageLoader.js',
    remotePatterns: [
      {
        protocol: 'https',
        hostname: 'i.pravatar.cc',
      },
    ],
  },
}

module.exports = nextConfig
imageLoader.js
interface ImageLoaderParams {
  src: string;
  width: number;
  quality?: number;
}

export const imageLoader = ({ src, width, quality = 75 }: ImageLoaderParams): string =>
  `${src}?w=${width}&q=${quality}`
Using the Custom Image Loader
Import imageLoader from your file and set the Image/next component on your page.
'use client'
import Image from 'next/image'
import { imageLoader } from '@/lib/imageLoader'
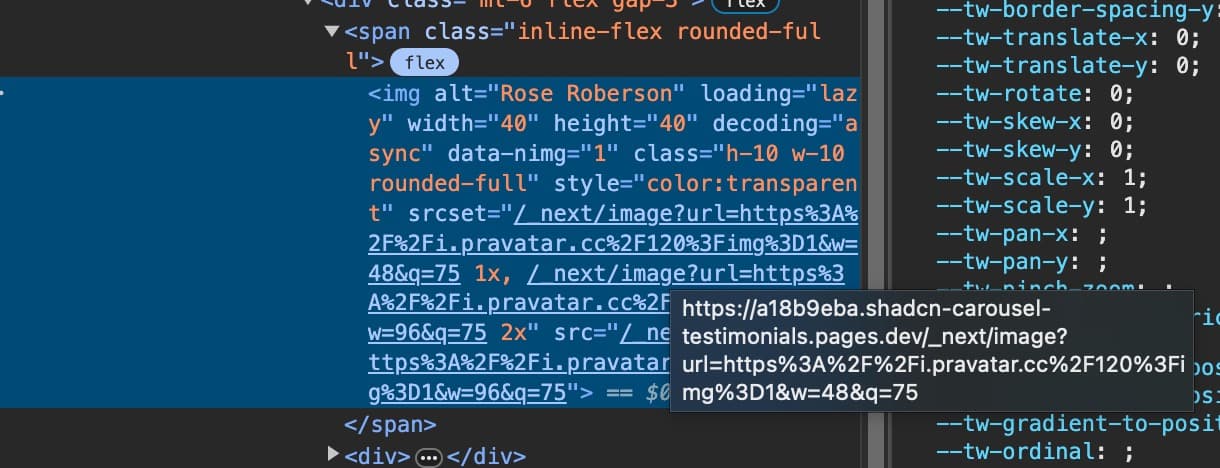
<Image loader={imageLoader} height={40} width={40} src={imgSrc} />
By following these steps, you can commit the modifications to your repository to trigger a new deployment on the Cloudflare dashboard.
My before and after
Before: https://a18b9eba.shadcn-carousel-testimonials.pages.dev/
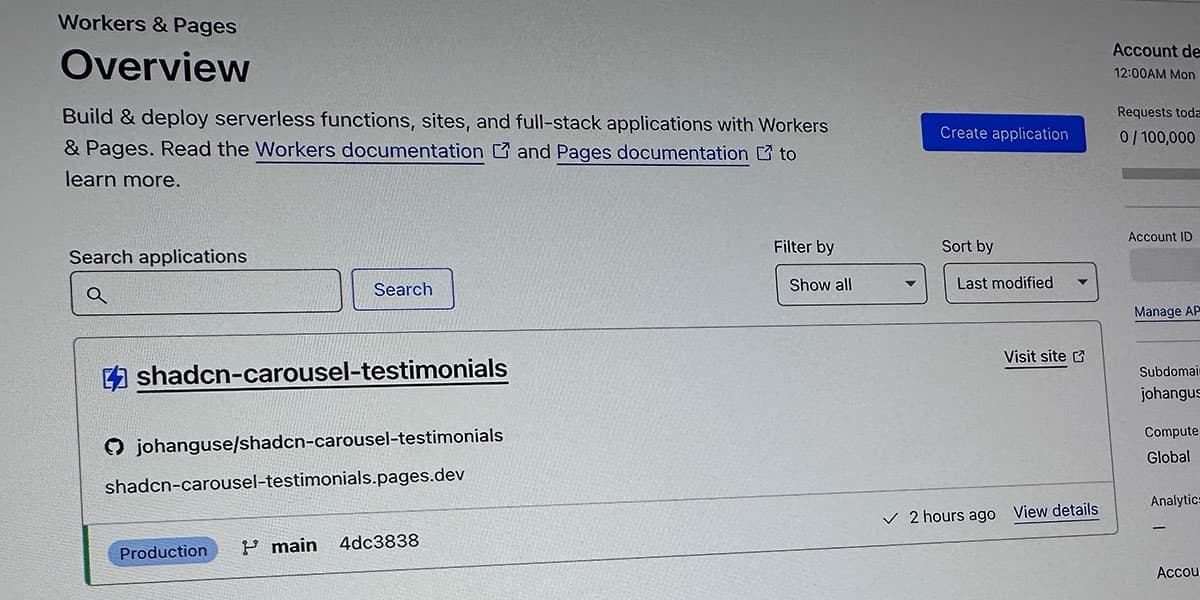
After: https://shadcn-carousel-testimonials.pages.dev/

Enjoying this content?
If you find this article helpful, consider buying me a coffee to support my work!
Buy Me a Coffee